Releasd exists to promote the fantastic work of modern PR teams. But it's equally important that report recipients understand who is responsible for that work.
That's where report branding comes in. Users have control over colours, fonts and background images - and of course logos.
But what if your logo seems rather small in the header? What if you want to add your client's logo and your agency's?
1. How to optimise a logo in the header
a) Ensure the header colour matches the logo background colour
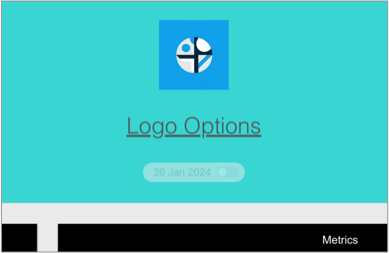
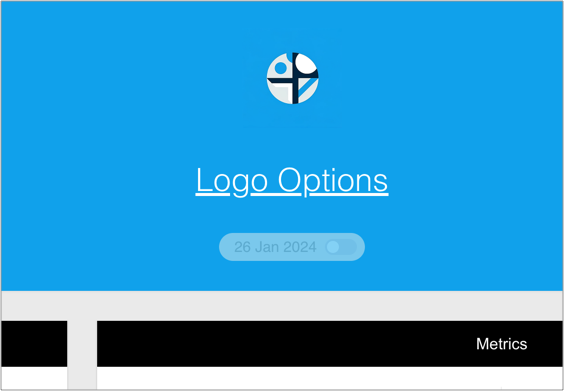
We all want to avoid that 90s web look when showcasing our wonderful PR results. One trap that some users fall into is using a logo with a background colour, and not matching that to the surrounding header. We see this boxy effect:
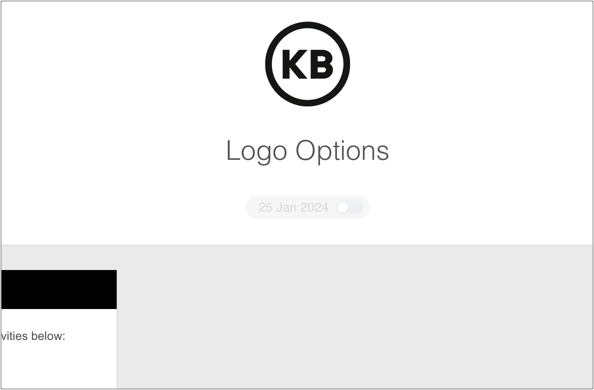
Instead, let's match the header background colour to the background colour of the logo.
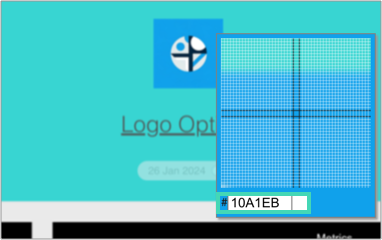
Add a free colour matching extension to your browser. We recommend ColorPick Eyedropper
Click on the extension, roll over the background colour of the logo, and copy the 6 digit 'Hex code' as shown below. The format should be #10A1EB for example
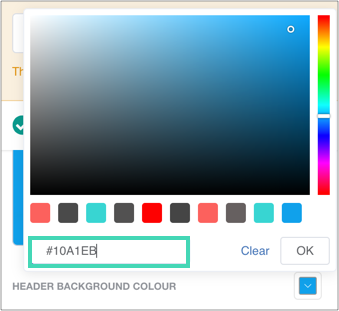
3. Pop that into the Header Background field in the Releasd branding editor. Be sure to include the # before the code!
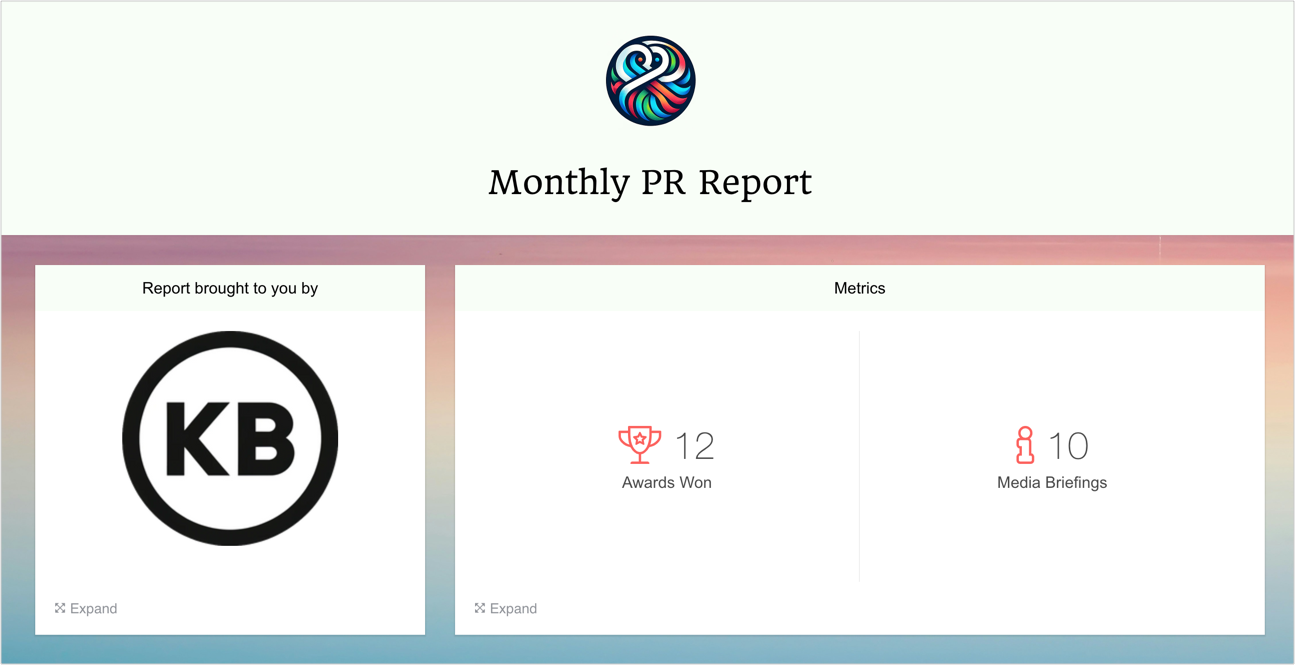
Doesn't this look much smarter? (You can tweak the header text colour too).
b) Crop empty space around your logo file
To ensure that your logo fills the available space within the header, remove any 'empty' space that surrounds it.
Use the crop function in your image editor to reduce this....

To this.

You can see that the actual logo is larger now the surrounding space has been removed. It'll therefore take up more space in the header of your page.
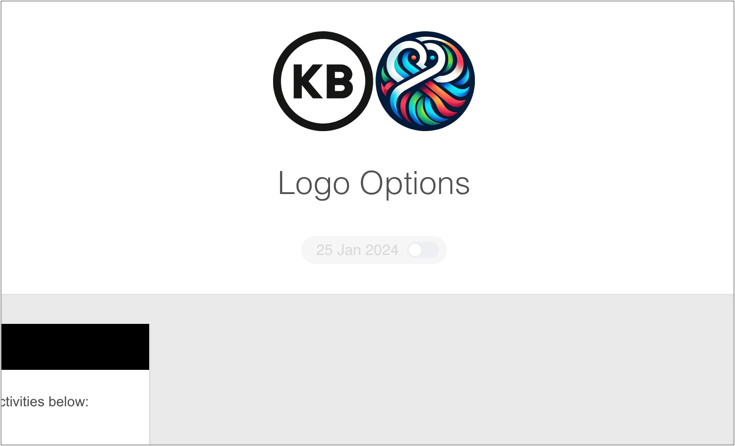
2. How to feature more than one logo in a report
a) Manually create a merged logo and upload to the header
Using any image editor, create a single file which features two logos together, and upload to the header.
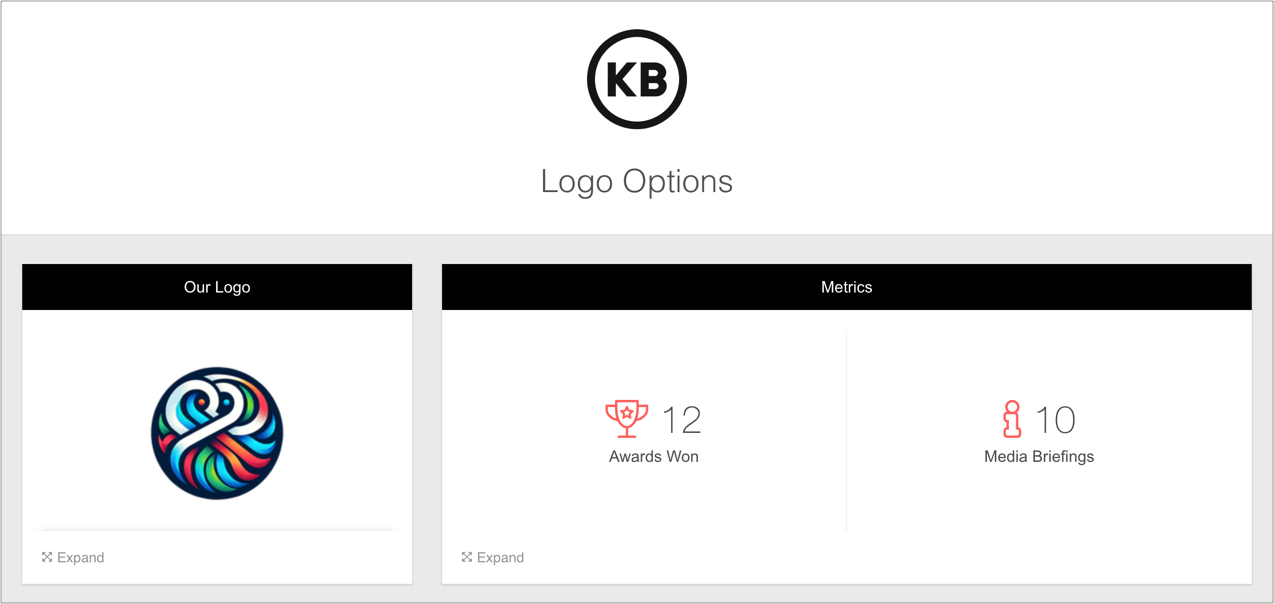
b) Add a second logo to the body of the report via the Images widget
Simply upload your logo file to the Images widget and place it where needed in the report.
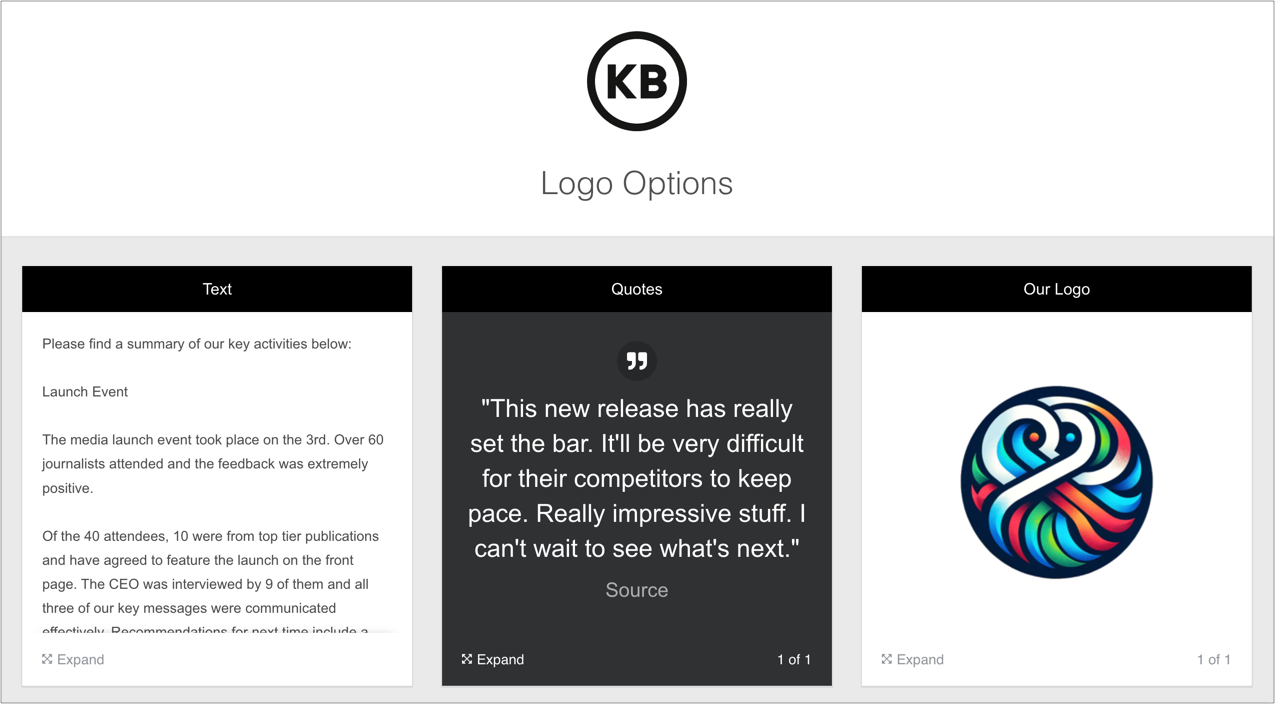
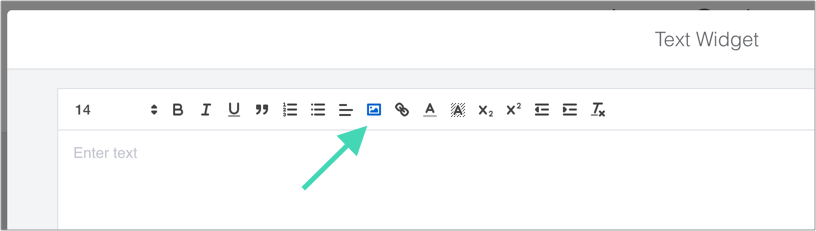
c) Add a second logo to the body of the report via the Text widget
Images can be added to the Text widget via this icon:
You change dimensions and align centrally:
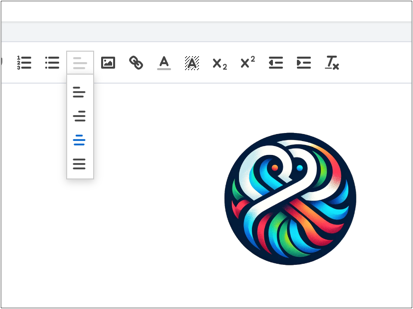
And here is how that looks:
Now we've seen how to optimise one logo in the header, and add multiple logos to a single report.